How to Connect Rollo Printer to Mac: Quick and Easy Guide
If you want to use the Rollo printer on your Mac computer, you must learn how to connect Rollo printer to Mac. If you do not know the procedure, don’t worry! I am here to help you with all the necessary information, and you can learn it by simply reading this blog. After that, you will be able to connect the printer to your MacBook and use it at your convenience.
To connect a printer to a Mac
system, you have two different options. The first option involves downloading
the driver on your computer and connecting it to the printer through the
driver. The second option is to connect the printer and computer using a Wi-Fi
network. To learn about both procedures, read the blog till the end!
How to Connect Rollo Printer to Mac?
Rollo printers are great at being
connected to devices. You can connect it to Windows and Mac computers. In order
to connect the MacBook to your printer, you will have two options, depending on
the type of printer you are using. To connect your printing device to your
computer with a Wi-Fi network, you have to follow these steps:
- Start
the process by operating the MacBook and going to an internet browser on
it.
- Then,
visit www.rollo.com. This is Rollo’s official
website, and you must download the driver from there.
- You can
choose where to save the driver file you want. By default, it will save in
the Downloads section.
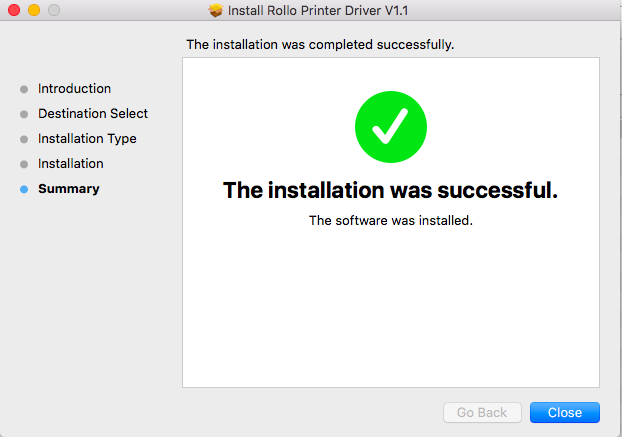
- Once the
driver is downloaded to your computer, you will need to install it. To do
so, go to the file and click on it to start the installation.

- Now, the
driver is installed on your Mac. You should proceed to connect the printer
to your Mac.
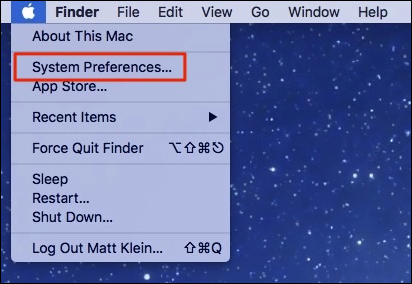
- To
initiate the connection process, first open the computer and go to the Apple menu.
- After
that, go to “System Preferences”
on your computer.

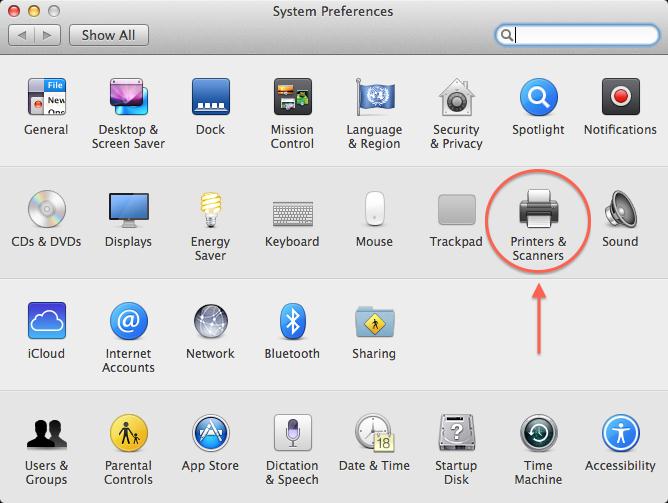
- Next,
you have to tap on “Printers and
Scanners.”

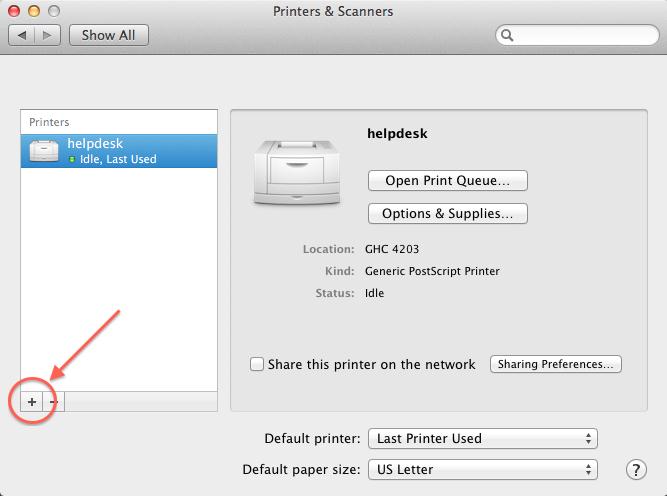
- On the
following screen, click on the “+”
icon.

- The
computer will start searching for the devices available nearby. You have
to wait until the printer pops up.
- When you
see the printer, tap on it, and it will be connected.
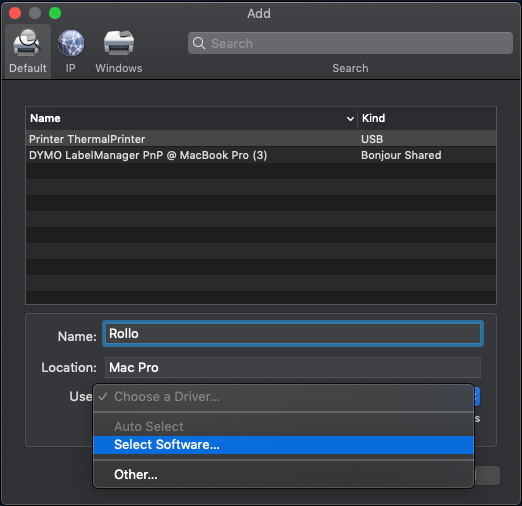
- After
connecting the device and printer, you will have to change the name of the
printer. You will have to name it the thermal printer.
- Once the
printer is connected to the computer, you have to select the software.

- Lastly,
select the printer in the driver, and the connection is complete.
How to Connect Rollo Printer to Mac Using Wi-Fi LED Button?
You can also use the printer’s LED
button to connect your computer to your printer. To use this method, you will
have to connect both devices to a Wi-Fi network. When the printer and your
computer are connected to a wireless network, follow the steps in the section
below.
- First,
you have to hold the Wi-Fi LED button on your printer panel for about 15
seconds.
- When you
see the yellow light flash, release the button.
- Next,
search for the Wi-Fi network on your computer.
- Then,
you will see your printer’s name pop up.
- A prompt
will lead you to select “Connect
with a security key instead.”
- You have
to use the Rollo printer as a password.
- After
that, you will see a window called “Rollo
Printer Portal Page.” In this window, you have to enter the password
for your wireless network.
- After a
few seconds, you will see the yellow LED light on the printer has turned
blue. It means that the connection is successful.
How to Enable CUPS Interface on Mac for Rollo Printers?
Before learning how to connect Rollo printer to Mac, you
will have to enable the options to use the printer on the MacBook. CUPS needs
to connect different printers to macOS. Follow the steps to set it up:
- You
should check if your CUPS is disabled. To do so, you need to browse www.rollo.com.
- If the
CUPS is disabled, you will see this on the screen.

- To
enable CUPS, you have to copy “cupsctl
Web Interface=yes.”
- Then,
paste it into the terminal and press enter afterward.
- When you
open the portal, you will see the list of installed printers.
- Finally,
you have to select the printer and start printing.
Conclusion
Here, you learned how to connect Rollo printer to Mac.
Rollo is an excellent printer that is used to print FBA labels. You can use the
printer by connecting it to a phone or computer. In this blog, you see the
connection process with a MacBook. You also saw how you can connect the printer
to your computer using the Wi-Fi LED button. In the end, you learned the process
of enabling the CUPS interface for the printer. After learning all these
things, you can use the printer on a Mac system.
FAQs
Why Is My Mac Unable to Locate Rollo Printer?
If you are not able
to locate the printer on your computer, then your driver may not be properly
installed. To solve the problem, you should first uninstall the driver and then
install it again. Make sure you do not experience any glitches while downloading
the driver. To download the driver, go to System
Preferences and select the Printers
and Scanners option. After that, search for the printer, and you will see
it there.
How Can I Connect Rollo Printer to My Computer?
To connect your printer to a
computer, you have to follow these steps:
- On your
computer, download the driver software.
- Then,
install the driver on your computer.
- Next, go
to Settings and click on “Add a printer or scanner.”
- After
that, open Printing Preferences
and tap on Advanced.
- Finally,
select the paper size, and the connection is complete.
What Is a Rollo Printer Good For?
Rollo is a high-speed printer that
is used to print FBA labels. It can be used for both business and personal use
purposes. Rollo has two different printers when it comes to connecting it to
your device. You can use the printer to connect it wirelessly or with a wired
connection. One of the most important features of the printer is that you can
print over 500,000 shipping labels on it without using ink. The Rollo printer
uses heat instead of ink for printing. You don’t have to worry about filling
ink again and again.


Comments
Post a Comment