Rollo Printer Setup: A Complete Guide in 4 Easy Steps
Learning about Rollo printer setup is easier when you follow my instructions. Yes, as a printer expert, I have expertise in resolving printer-related issues and setting them up. However, you will be equipped with the knowledge to stop the common setup issue and will learn how to do a Rollo wireless printer setup from scratch.

Although setting up a printer can seem daunting, it is actually a breeze. In this guide, I will walk you through each step, from unboxing the printer to connecting it to your smartphone. Besides, this post will be helpful for mobile users. If you are ready to start, let’s get started!
Step 1: Unboxing the Rollo Printer
Are you excited about the printer unboxing😍? If so, am I? I love unboxing gadgets, and finally, after a long wait, I received my printer. In order to learn the Rollo printer setup, I will first start with the unboxing. So, let’s see what I have received in it.
When
I opened the box, I was taken aback by the detailing in the packaging—it was
just WOW! However, inside the box, I didn’t only find the printer but also a
complete kit that met all my printing needs. Here’s what it looks like –

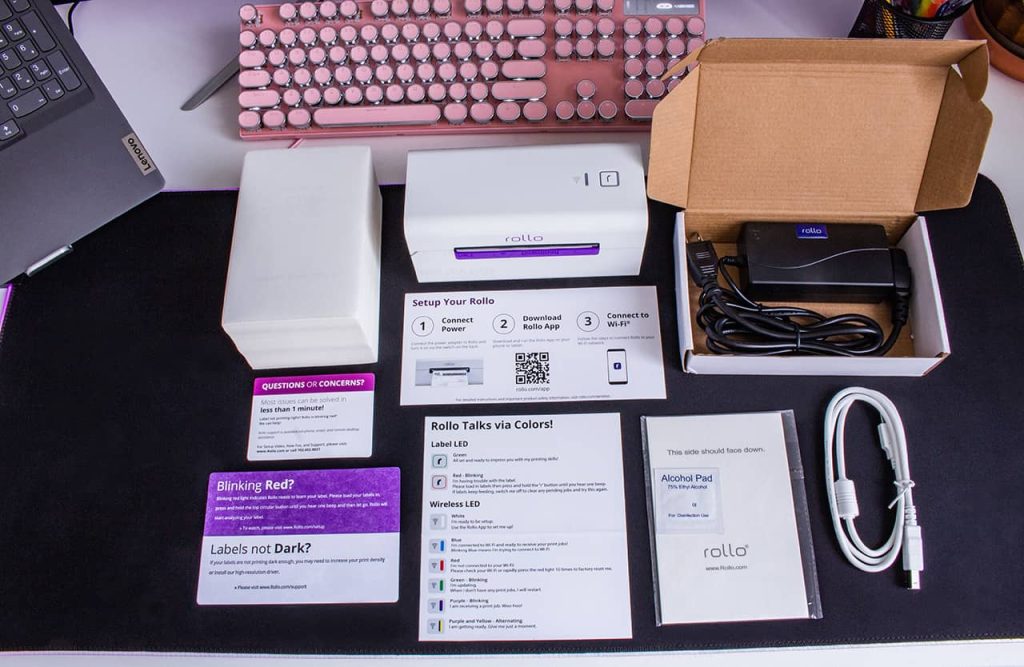
So, what’s inside the box?
Inside the box, I found the printer, power adapter, USB cable, and other manual guides for the Rollo printer setup. Besides, I got 516 complimentary shipping labels, which are top-quality, USA-made, FSC-certified, and BPA-free thermal labels.
In addition, an alcohol pad was also there, which is used to keep the printer in its original condition.
I am happy to receive this product. However, the best thing about this product is that it comes with 1-year of replacement warranty at zero additional costs. Isn’t that so amazing😃?
Okay, that’s all in unboxing; now, let’s proceed ahead to the Rollo printer setup.
Step 2: Downloading the Rollo App
It took me about 10 minutes to complete it because I had some issues with my Wi-Fi router. Otherwise, it might take less than 10 minutes.
In order to download the Rollo app, you have to go to your Play Store or App Store and search for it. Once you find it on the result, you can install it right away. Also, you can scan the QR code from the setup card that you received while unboxing the printer.
Once you have downloaded the printer app, you will need to start the Rollo printer setup.
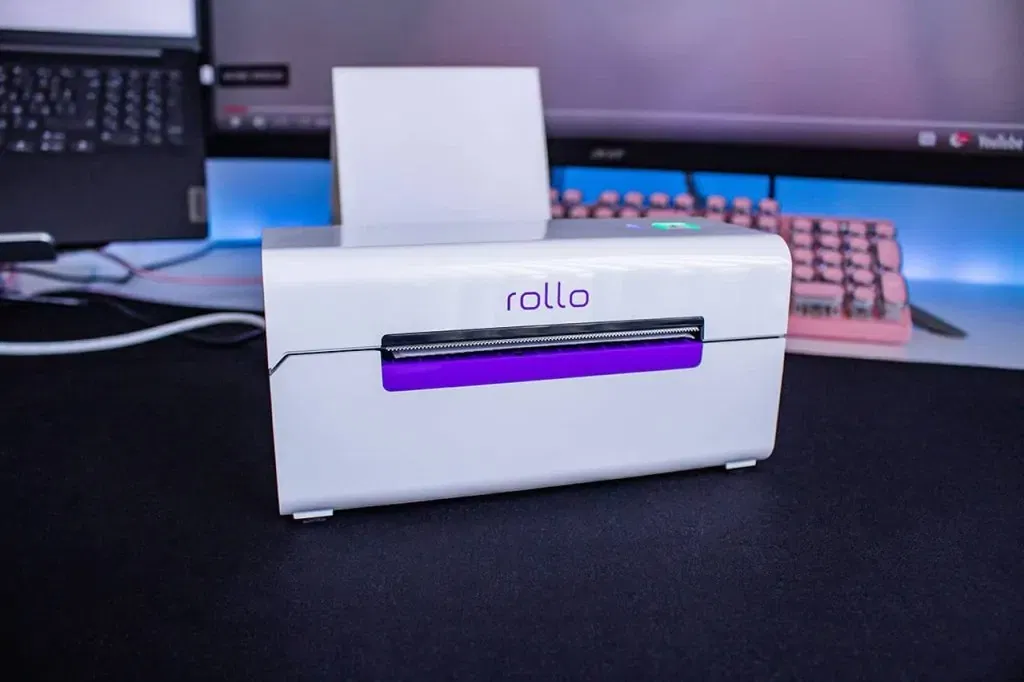
Step 3: Turn on Your Printer

Now, you have to turn on the printer. To do this, you first need to plug the power cable into the wall outlet on the back of the printer and then insert the power plug into it.
After that, just press the black switch on the back of the printer to turn it on. Then, open the printer and feed the labels into it.
Step 4: Connect Rollo Printer with Phone

On your phone, you have to turn on the Bluetooth and wait for your printer to be detected. Make sure your printer is close enough to your phone to avoid any connectivity issues. Once your phone discovers your printer, click Continue to proceed.
Afterward,
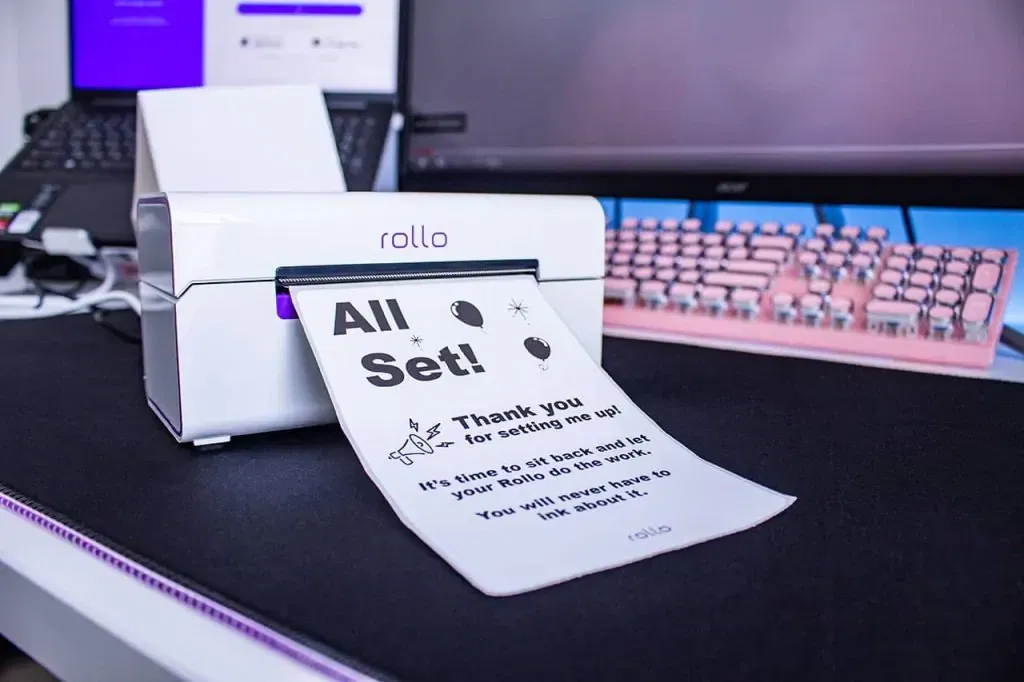
choose your Wi-Fi network and enter your password. Next, click on the Test Label button. As you click the Test Label tab, your printer will start
printing your label.

Finally, you have learned about the Rollo printer setup in 4 simple steps. The best thing about setting up the printer is that you will not need any type of driver. Also, connecting it via Bluetooth makes it trouble-free from those tidy wired connections. After completing setup and printing a sample label, your printer will be all set. Good luck!
FAQs
Question 1: Do I need to install drivers for Rollo
wireless printer?
Answer: No, driver installation is not required for the wireless printer. This is only for the wireless printer. So, if you have a wired printer, you can get the driver by navigating to Rollo’s official website. However, the driver is not needed for wireless printer users.
Question 2: Do I need Bluetooth for my Rollo
wireless printer?
Answer: Yes, you need to use Bluetooth only during the initial setup steps so that it can detect the printer before connecting to your Wi-Fi network. Note that you will also need a wireless connection to establish a proper connection between your device and printer. After this connection, your Rollo printer setup will be completed.
Question 3: Is Rollo app free, and how can I get it?
Answer: Yes, the app is
free, and you have to bear no cost for it. To access this application, you can
try three ways as given below:
- You need to scan the QR code given on your setup card that
you received in your printer box.
- Navigate to the App
Store/ Play Store and search for the app using your phone and tablet.
- Download it from Rollo’s official website.


Comments
Post a Comment